Starting your photography journey can be exciting and scary, especially if you’re new. But don’t worry! This guide will share simple tips to help you take amazing photos and explore your creativity. These tips are perfect for anyone starting out or wanting to get better. Get ready to improve your photography skills!
I’ll teach you the basics of camera settings and how to make great photos. You’ll learn about aperture, shutter speed, and ISO. Plus, how to try different shooting modes. You’ll also discover the rule of thirds and other ways to make your photos look great.
I’ll also share tips for taking amazing portraits and using natural light. You’ll learn about the golden hour and how to use reflectors and diffusers. Finally, I’ll show you how to use photo editing software to make your photos even better.
This guide is for anyone starting out or wanting to get better at photography. You’ll be inspired, motivated, and ready to start an amazing photography journey. Let’s get started and unlock your full potential as a photographer!
Mastering the Basics of Camera Settings
As a beginner photographer, learning the basics of camera settings is key. We’ll cover the main parts of exposure: aperture, shutter speed, and ISO. You’ll see how to use them to improve your photos.
Understanding Aperture, Shutter Speed, and ISO
Aperture, shutter speed, and ISO are the core of exposure. Mastering them is vital for great photos. Aperture controls the lens opening, affecting depth and light. Shutter speed changes how motion is captured. ISO sets how sensitive the camera is to light.
Knowing how to mix these elements lets you control focus, motion, and exposure. Try different settings to see their effects. This way, you’ll learn to adjust them for the look you want.
Experimenting with Different Shooting Modes
Your camera has many shooting modes, each with its own benefits. Get to know the differences between Auto, Aperture Priority, Shutter Priority, and Manual. Using these modes helps you understand camera settings better.
For example, Aperture Priority lets you set the aperture while the camera adjusts the shutter speed. It’s great for changing the depth of field. Shutter Priority, on the other hand, lets you control the shutter speed. It’s useful for sharp shots of fast subjects or creative blur.
Experiment to find the best settings for your photography style. With practice, you’ll know the settings that match your vision.
Composition Tips for Captivating Photographs

Composition is key to a great photo. I’ll share tips, like the rule of thirds, to make your photos stand out. Learning these techniques will boost your photography skills.
Exploring the Rule of Thirds
The rule of thirds makes your photos look better. Imagine your frame split into nine parts by lines. Place your subject on these lines for a balanced photo.
This technique makes your photos more interesting. Try placing your subject or horizon line on these lines to see the difference.
Don’t think the rule of thirds is set in stone. It’s a guide, not a rule. Use it to create your own unique photos.
Beginner Photography Techniques for Capturing Stunning Portraits
Portraits are both rewarding and challenging for beginners. You can make emotive and captivating portraits by learning a few key techniques. I’ll share tips to help you take stunning portraits that stand out.
Understanding how to pose your subject is key. Start by guiding them into natural, relaxed positions that highlight their best features. Encourage them to look into the camera or slightly turn their body. Try different poses to see what works best for each person.
Lighting is also very important in portrait photography. Try to use soft, diffused natural light as much as you can. It makes your subject’s skin look great. Place your subject near a big window or use a reflector to bounce light on their face. Stay away from harsh, direct sunlight, as it can make shadows and highlights look bad.
- Experiment with different posing techniques to find what works best for each subject
- Utilize soft, diffused natural light to create a flattering, glowing effect
- Position your subject near a window or use a reflector to control the lighting
By mastering posing and lighting, you’ll be on your way to taking amazing portraits. Keep practicing, learning, and trying new things to improve your portrait photography skills.
Harnessing Natural Light for Vibrant Shots

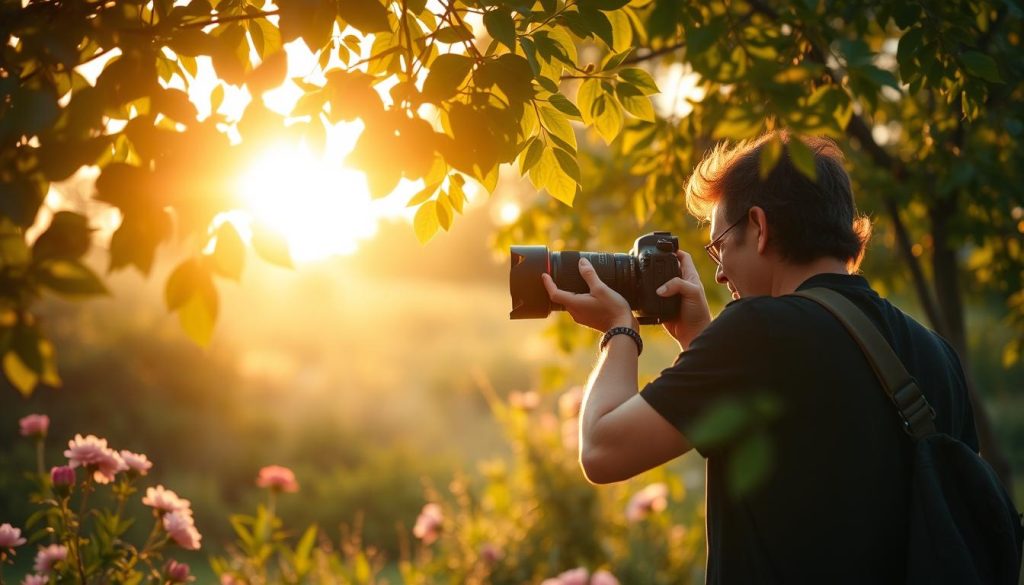
Learning about natural light photography is key for new photographers. It helps you take amazing photos of landscapes or portraits. Knowing how to use natural light can make your photos stand out.
Shooting during Golden Hour
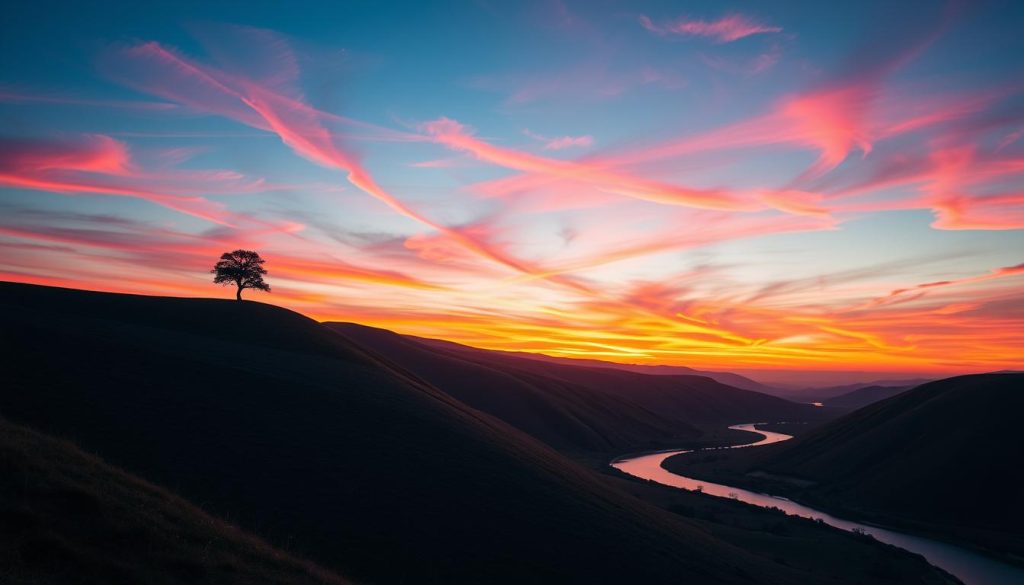
The golden hour is a favorite time for many photographers. It happens right before sunrise or after sunset. During this time, your photos get a warm, golden light that looks magical.
To get the best shots, plan your photoshoots for these special times. Try different camera settings and angles to capture the golden hour’s beauty.
Using Reflectors and Diffusers
Natural light is great, but it’s not always perfect. That’s where reflectors and diffusers come in. Reflectors add warmth and depth to your photos. Diffusers make the light softer and more even.
Play with different reflectors and diffusers to control the light. This helps you get the look you want in your photos.
| Reflector Type | Effect |
|---|---|
| Silver Reflector | Adds a cool, bright, and contrasty light |
| Gold Reflector | Provides a warm, soft, and flattering light |
| White Reflector | Creates a neutral, diffused light |
By using natural light, reflectors, and diffusers, you can create amazing photos. Your photos will show off your unique style and creativity.
Editing Essentials for Enhancing Your Photos

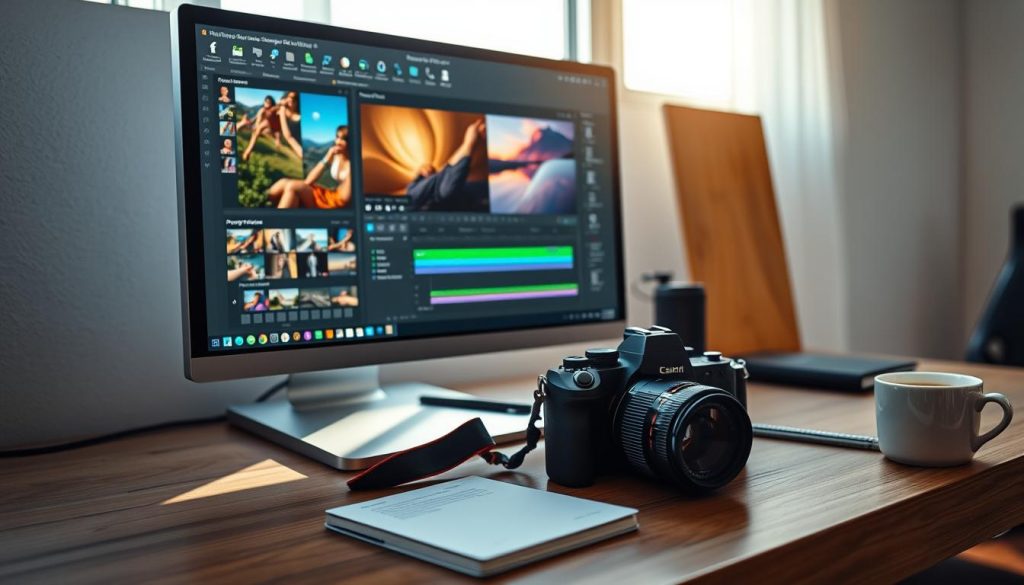
Getting the perfect shot is great, but editing can make it even better. I’ll show you popular photo editing software and key techniques. These will help take your photos to the next level.
Introduction to Popular Photo Editing Software
For beginners, there are many easy-to-use photo editing tools. Some top picks include:
- Adobe Lightroom: It’s great for managing, editing, and enhancing your photos.
- Photoshop: It’s the top choice for advanced editing, with lots of tools.
- GIMP: A free, open-source option that’s similar to Photoshop but free.
- Canva: A web-based tool that’s easy to use for photo editing.
These tools let you adjust brightness, colors, and more. Try out different ones to see which fits your style best.
Don’t be shy to try new things with these tools. Editing gets better with practice. Learning the basics can open up a world of creative possibilities for your photos.
Creative Ideas to Spark Your Photographic Journey
Starting your photography journey is exciting. The world is full of things to see and capture. Try new ways to show what you see.
Be creative by trying new things. Shoot from weird angles or use special effects. Add everyday items to your photos for fun.
Let your passions guide your photos. Capture moments that mean a lot to you. Share your stories with the world through your lens.

