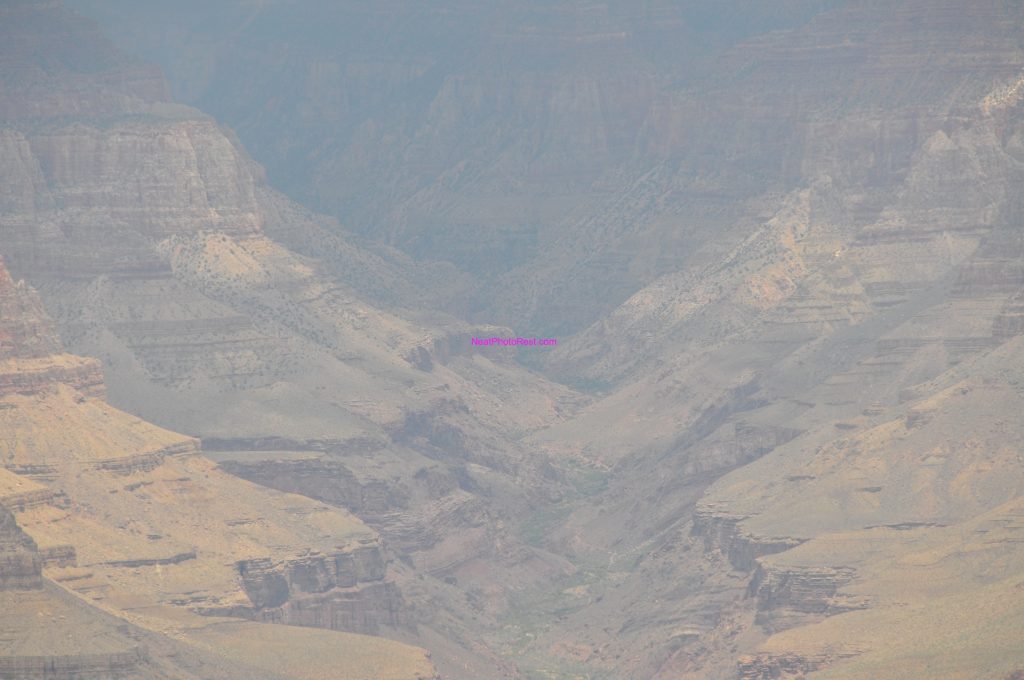
In this example shown below, I have used the image histogram to bring the image back to life. No matter how advanced you are in photography, and regardless what equipment you use (pro-DSLR, semi-pro) there will be situations where your images will look dull depending under what circumstances you shoot your pictures. In many cases, the dull looking images could be easily recovered just by adjusting the image histogram, the process is also known as Histogram equalization.
Here is an image which I took in Grand Canyon Kaibab trail with Nikon D300 and lens DX 18-200 (f/8, 1/250 sec, ISO-400, focal length 200mm). From the first look this image looks dull, and many photographers tend to disregard and delete it. But before you delete any dull image that you shoot try histogram adjustments.
And here is the Histogram of the above Grand Canyon image that looks dull and hazy:
As you can see in the above histogram example that all the image pertaining data are concentrated in the middle, no data in the extreme right or extreme left, this is the case where the data distribution in the image is not equalized or distributed equally.
I have adjusted the above histogram by sliding the right white-slider to the left of the bell shape chart all the way to the bottom-right of the bell shape chart. Similarly, I have moved the left black-slider all the way to the right and placed it at the bottom-left side of bell shape chart.
Here is the histogram with the adjustment added but not processed yet:
and here is the histogram with the adjustments finalized:
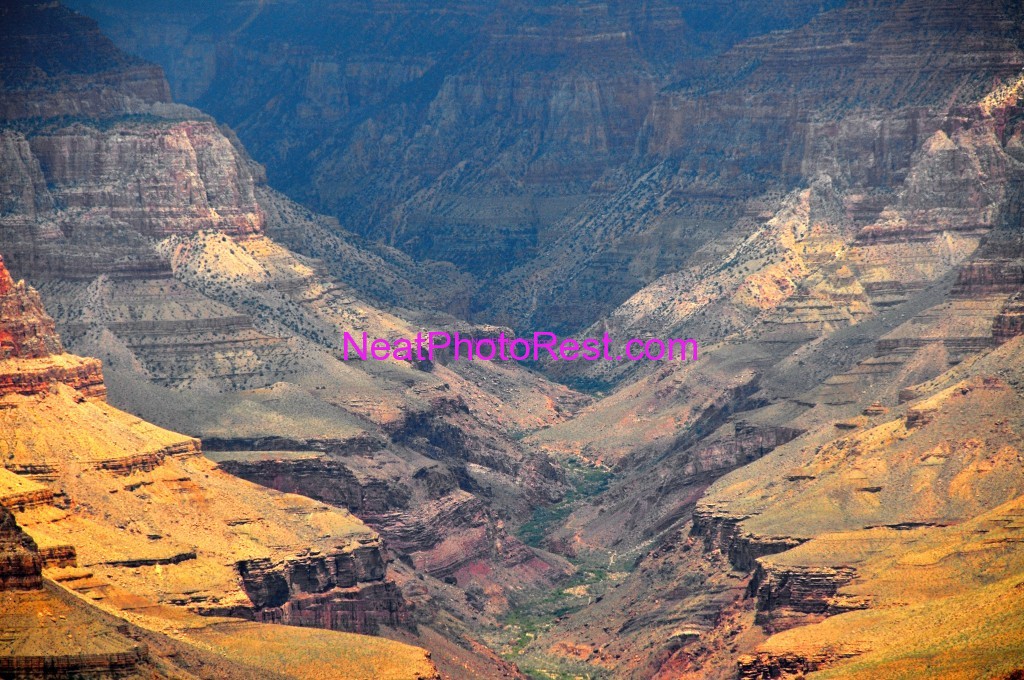
Finally, here is the image after the histogram has been adjusted (equalized):
Transformation is almost instant and the final image looks surreal with vibrant colors and balanced contrast between high and low light intensities. You can almost see the green wilderness at the deep end of the Grand Canyon. Compared with the image above, this one is a keeper.
There are many tools out there to make Histogram adjustments (equalization) to your images, just do a search for “histogram adjustment software” on your favorite search engine, in my case I use Photoshop.
Stay tuned for my next post about polishing an image.


