
I love photography and the magic of natural light. It makes landscapes, portraits, and still lifes look amazing. In this article, I’ll share my best tips for using natural light to make your photos stand out.
Learning about natural light and how to use it is key. I’ll teach you how to make colors pop and add depth to your photos. Get ready to take your natural light photography to the next level with outdoor photography and sunlight photography tips!
Mastering the Art of Natural Light
To become a true master of natural light photography, you must know sunlight’s unique qualities. The soft, diffused glow of the golden hour and the cool, dramatic tones of the blue hour can change your outdoor shots. Artificial light can’t match this.
Understanding the Qualities of Natural Light
Natural light has two main types: hard and soft. Hard light, like midday sun, makes sharp shadows and clear highlights. Soft light, more diffused, gives a flattering, even illumination. The color temperature of natural light changes, from warm golden tones at sunrise and sunset to cool, blue hues at midday.
Finding the Best Time of Day for Outdoor Shoots
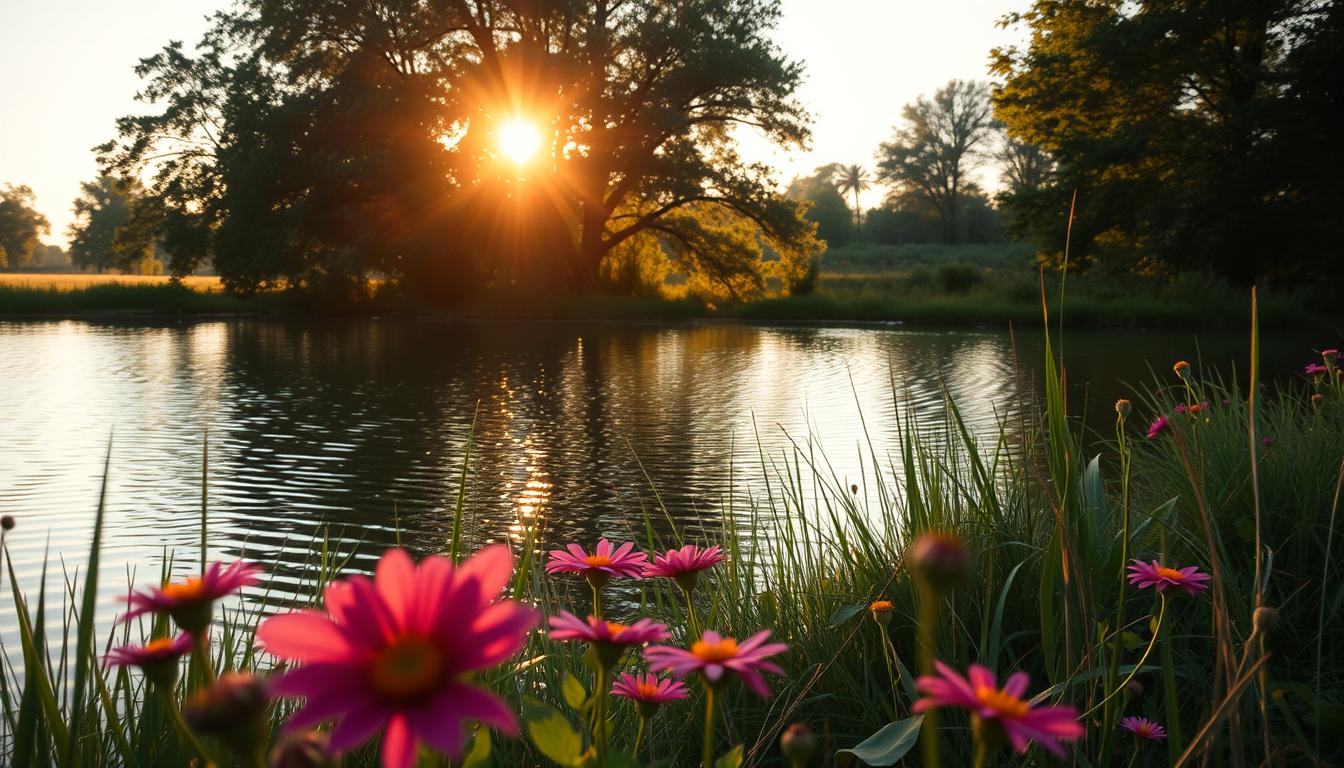
- The golden hour, just after sunrise or before sunset, offers a warm, flattering glow. It adds depth and dimension to your images.
- The blue hour, before sunrise or after sunset, provides a cool, dramatic lighting. It creates a sense of mystery and mood.
- Overcast days are also great for natural light photography. The diffused light creates a soft, even illumination. It’s perfect for capturing vibrant colors and textures.
By understanding natural light’s unique qualities and the best times to shoot, you can improve your outdoor photography. You’ll capture images that truly show the beauty of the natural world.
Harnessing the Power of Window Light

Natural light is a powerful tool in photography. It can turn simple scenes into stunning images. You can use the soft, directional light from windows to create beautiful photos. This method is great for moody, dramatic portraits.
To use window light well, place your subject near a big window. Angle them a bit to the side. This lets the light hit their face in a flattering way. It adds depth and dimension to your photos.
Try different window angles and times of day for the best light. This will help you find the most compelling shots.
Using a reflector can make your photos even more dramatic. Place it opposite the window to fill in shadows. Adjust the reflector’s angle and intensity to get the right light.
Window light photography is very versatile. It works for both moody and vibrant photos. Learning this technique can open up new creative possibilities. It will take your indoor photos to the next level.
| Tip | Description |
|---|---|
| Position Your Subject | Angle your subject slightly to the side, allowing the window light to fall on their face at a flattering angle. |
| Experiment with Reflectors | Use a reflector to bounce additional light onto your subject, creating a more balanced, well-lit look. |
| Explore Different Times of Day | Experiment with shooting at different times of day to capture the most compelling window light and shadows. |
Natural Lighting Photography: Capturing Vibrant Colors

One of the most mesmerizing things about natural light color photography is how it makes colors pop. The way sunlight interacts with subjects can change how we see and capture colors. This makes our images more visually striking. We’ll look at how natural light affects color rendition and share tips for bringing out those colors in your landscape photography and still life photography.
How Natural Light Affects Color Rendition
The quality and direction of natural light greatly impact color in photos. Soft, diffused light from an overcast sky or a shaded area can make colors more muted. On the other hand, direct sunlight often brings out more vibrant, saturated colors. Knowing this is key to enhancing colors in your natural light photos.
Techniques for Enhancing Colors in Natural Light
To get the most out of natural light’s color-enhancing effects, try these methods:
- Shoot during the golden hour – the first and last hour of daylight. This time has a warm, soft glow that makes colors pop.
- Use reflectors or fill cards to bounce light onto your subject. This adds depth and vibrancy to colors.
- Play with your camera’s white balance settings. Find the perfect mix of warm and cool tones.
- Adjust colors in your photos after taking them. Increase saturation or change the hue of certain elements.
By learning to use natural light’s color-enhancing qualities, you can take vibrant, captivating images. These images will truly show the beauty of the world around us.
Creating Depth and Dimension with Natural Light
Natural light can change your photos a lot. It makes things look more real and interesting. By using shadows and highlights, you can make your photos feel like they pop out.
Using Shadows and Highlights to Add Depth
Understanding how light works is key. It changes how your subject looks. Move your subject and light around to see how shadows and highlights change.
Try lighting your subject at an angle. This creates shadows that show off their shape. Or, use backlight to make a halo around them. This adds depth and makes them stand out.