
If you want to take your photos to the next level, you might want to try shooting during the golden hour. The golden hour is the special time of day when the sun is near the horizon, creating a soft, warm light that can make any scene look magical. This post will show you how to capture the perfect golden hour photo with simple tips and techniques.
What is the golden hour, and why is it the best time of day to shoot?
The golden hour is right after sunrise or before sunset when the sun is low in the sky and casts a golden glow over everything. The duration of the golden hour varies depending on your location, season, and weather, but it usually lasts for about an hour or less.
The golden hour is considered the best time of day to shoot for several reasons:
– The light is softer. Unlike the harsh midday light, the golden hour light does not create strong shadows or highlights, making it easier to expose your photos correctly and avoid overexposed or underexposed areas.
– The light is warmer. The golden hour light has a higher color temperature, meaning it has more yellow, orange, and red tones. This gives your photos a warm and cozy feel, enhancing the colors of your subject and background.

– The light is directional. The golden hour light comes from a low angle, creating long shadows and adding depth and dimension to your photos. You can also use the direction of the light to create different effects, such as backlighting, rim lighting, silhouettes, sunbursts, and lens flares.
How do you capture the perfect golden hour photo?
Now that you know what the golden hour is and why it is so amazing, you might wonder how to take advantage of it and capture the perfect golden hour photo. Here are some tips and techniques that will help you do just that:
Tip 1: Plan your shoot ahead of time
Tip 2: Choose the right camera settings
Tip 3: Experiment with different angles and perspectives
In the following sections, I will explain each tip in more detail and show you some examples of how to apply them.
Plan Your Shoot Ahead of Time For Golden Hour Photo
The golden hour is a short window of opportunity, so you don’t want to waste precious time when it arrives. That’s why planning your shoot ahead of time is crucial to capturing the perfect golden hour photo.
One of the most important things to plan is the exact time and location of the golden hour. You can use apps or websites that tell you when the sun will rise or set and where it will be in the sky based on your location and date. Some of the popular ones are:
- The Photographer’s Ephemeris
- PhotoPills
- Golden Hour
- Sun Surveyor
These tools will help you determine the best time and place to shoot, as well as the direction and angle of the light.
Another thing to plan is your location and composition. You should scout your location beforehand and look for interesting subjects, backgrounds, and perspectives that will work well with the golden hour light. You should also visualize your composition and consider how to frame your shot, what focal length to use, and what elements to include or exclude.
Finally, you should arrive early and set up your gear before the golden hour starts. You don’t want to miss any moment of the magic because you are still setting up your tripod, changing your lens, or adjusting your settings. Before shooting, you should also check your battery level, memory card space, and lens cleanliness.
By planning your shoot, you will be ready to capture the perfect golden hour photo when the time comes.
Choose The Right Camera Settings
The golden hour light can be tricky to capture, changing quickly and dramatically. That’s why choosing the right camera settings is essential for the best results. Here are some guidelines to help you choose the right settings for your golden hour photo:
– Use a low ISO. The golden hour light is usually bright enough to use a low ISO, such as 100 or 200. This will reduce the noise and increase the dynamic range of your photo, meaning you will have more details in the shadows and highlights.
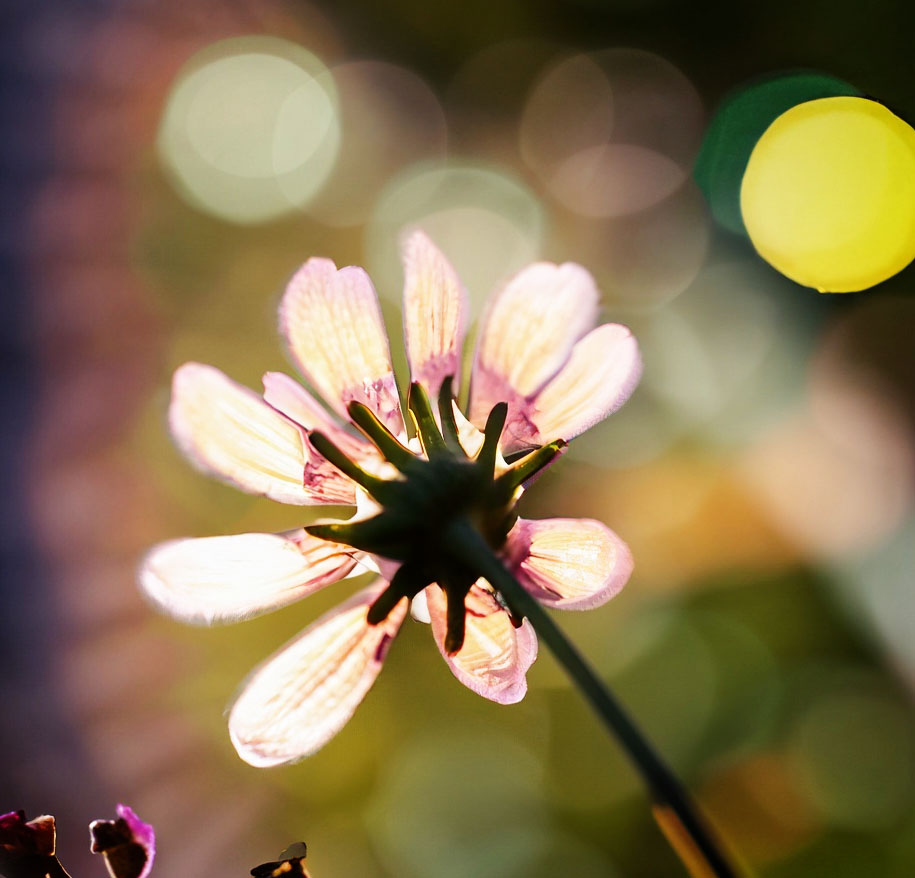
– Use a wide aperture. The golden hour light creates a beautiful bokeh effect, the blurry background that makes your subject stand out. To create a bokeh, you must use a wide aperture, such as f/2.8 or f/4. This will also let more light into your camera and allow you to use a faster shutter speed.
– Use a fast shutter speed. The golden hour light can create stunning effects, such as sunbursts, lens flares, and silhouettes. You must use a fast shutter speed, such as 1/500 or 1/1000, to capture these effects. This will also freeze any motion and avoid camera shake, especially if you shoot handheld.
– Adjust your white balance. The golden hour light has a warm color temperature, which can give your photos a yellow or orange tint. Depending on your preference, you can keep this tint or adjust it to make it more neutral. You can do this by changing your camera’s white balance setting or editing your photo later on your computer or phone. Some of the common white balance options are:
- Auto: Your camera will try to adjust the white balance automatically based on the light conditions.
- Daylight: Your camera will set the white balance to match the color temperature of daylight, which is around 5500K.
- Cloudy: Your camera will set the white balance to match the color temperature of cloudy weather, around 6500K.
- Shade: Your camera will set the white balance to match the color temperature of shade, which is around 7500K.
- Custom: You can manually set the white balance using a gray card or selecting a neutral area in your photo.
You can capture the golden hour light in all its glory by choosing the right camera settings.
Experiment With Different Angles and Perspectives
The golden hour light can create different effects depending on the angle and perspective you choose to shoot from. You can add variety and interest to your photos by experimenting with different angles and perspectives. Here are some ideas to try:
- Shoot from a low angle. By shooting from a low angle, you can emphasize the foreground and create a sense of depth in your photo. You can also use the foreground elements, such as grass, flowers, or rocks, to frame your subject or create leading lines. Shooting from a low angle can also make your subject look more powerful or majestic.
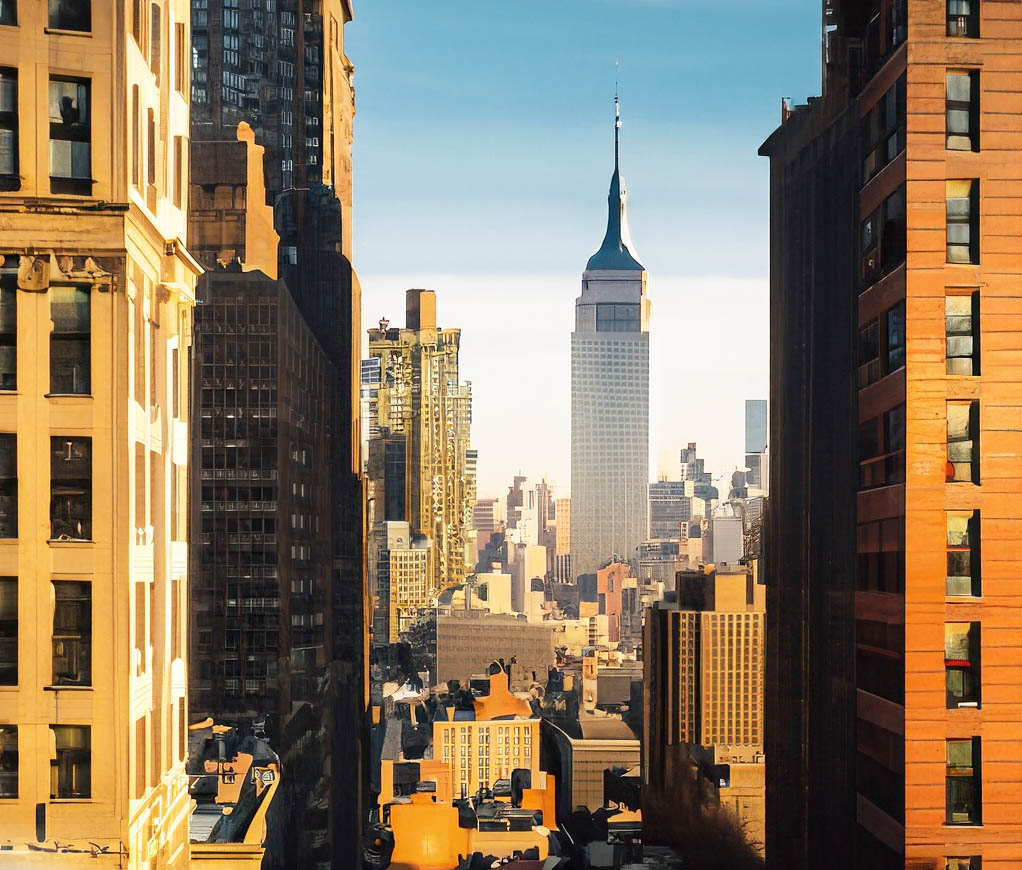
- Shoot from a high angle. You can capture the sky and the horizon in your photo by shooting from a high angle. You can also use the sky as a background or a canvas for the golden hour colors. Shooting from a high angle can also make your subject look smaller or more vulnerable.
- Shoot from a side angle. You can create silhouettes and rim lighting in your photo by shooting from a side angle. A silhouette is when your subject is completely dark against a bright background, creating a contrast and a mystery. Rim lighting is when your subject has a thin outline of light around them, creating a glow and a separation. Shooting from a side angle can also show the shape and form of your subject.

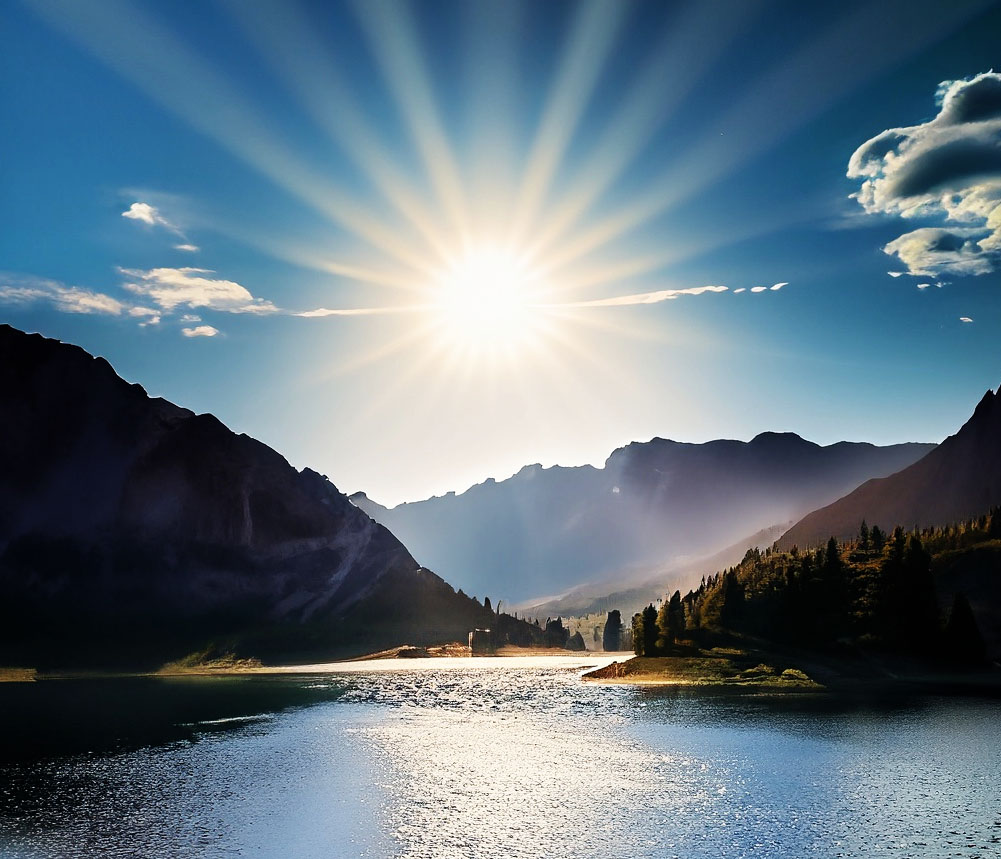
- Shoot directly into the sun. By shooting directly into the sun, you can create sunbursts and lens flares in your photo. A sunburst is when the sun appears as a star-shaped light source, creating a dramatic and dynamic effect. A lens flare is when the sun creates streaks or spots of light on your lens, creating an artistic and creative effect. Shooting directly into the sun can also add warmth and brightness to your photo.
By experimenting with different angles and perspectives, you can discover new ways to use the golden hour light to create stunning photos.
Summary
The golden hour is the special time of day when the sun is near the horizon, creating a soft, warm light that can make any scene look magical. In this post, I showed you how to capture the perfect golden hour photo with simple tips and techniques. You learned how to:
- Plan your shoot ahead of time
- Choose the right camera settings
- Experiment with different angles and perspectives
I hope you enjoyed this post and learned something new. Now it’s your turn to try it out and see what amazing photos you can create with the golden hour light. Don’t forget to share your results with me and other readers in the comments below or on social media. I would love to see your work and hear your feedback.
If you liked this post and want to learn more about photography, please subscribe to my blog, follow me on Instagram, or like my Facebook page. You will get access to more tips, tricks, and tutorials to help you improve your photography skills.